Botanical Inks
How to use, care and experiment with them.
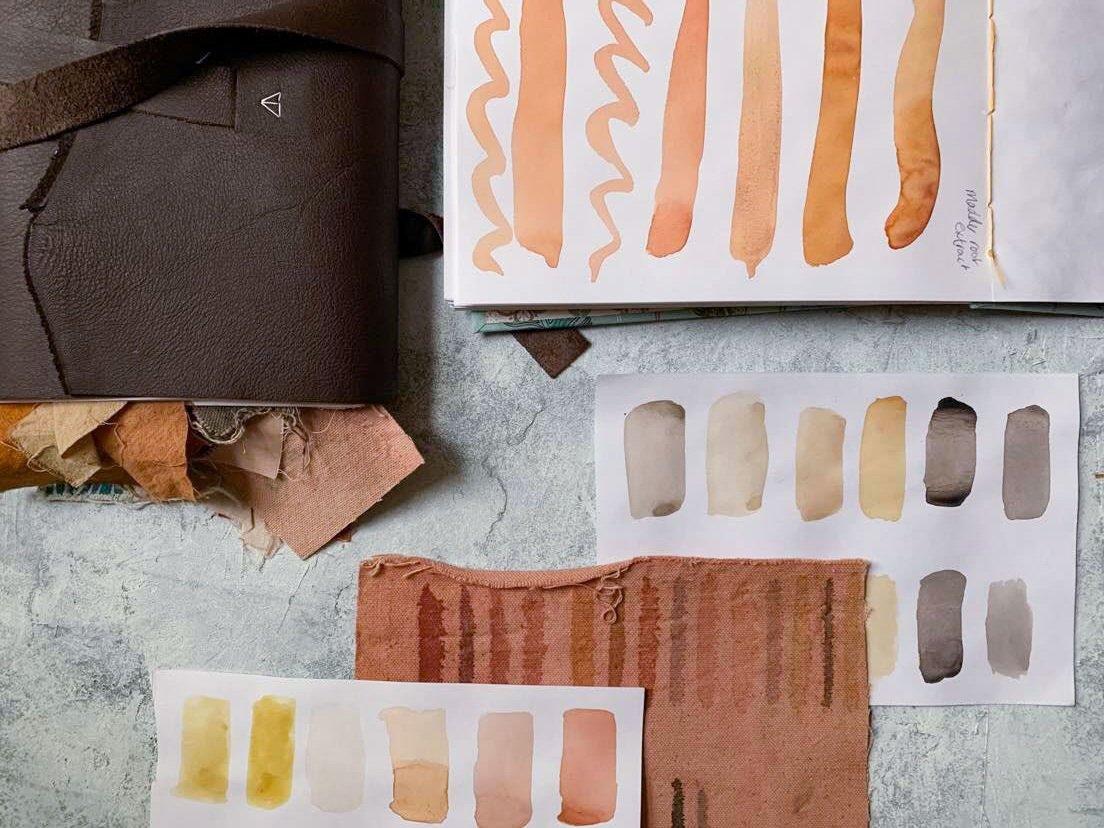
Feel more connected to nature with our range of botanical inks; whether using them for writing/painting or as a replacement for liquid watercolours, we’re sure you’ll get inspired by the array of colours made from the natural world around us.
Handcrafted and locally made.
If you have bought our own range of Botanical Inks you will be happy to know they are all handcrafted in the UK using sustainably sourced, locally foraged and occasionally grown dyes from our own home studio garden.
“Give yourself the time to experiment and play as these inks work best with a sense of curiosity.”
Tips on using botanical inks - best practises
Before you begin make sure you have plenty of water and a cloth to clean your brushes/ nibs with. Make sure to wear clothes you don’t mind getting messy as these inks are highly concentrated and will permanently stain your clothes.
As these inks are made with natural pigments some separation or pigment may settle to the bottom of the bottle. We have added a small glass ball to help with remixing the inks. Before using its best to give it a little shake with the lid on.
For best practice we recommend using a separate pipette for each bottle and a colour palette or small dish to mix the inks. This will help prevent any contamination or mould forming.
Do not dip brushes or nibs directly into the bottles as this can cause a reaction to the ph of the inks or contaminate them.
To alter the consistency try using a little Guar Gum (thickens) or Gum Arabic (extends), you can find Gum Arabic easily in most arts and crafts shops pre diluted. But if you using powders we suggest to mix a little (small pinch) with water before adding the ink.
Using Modifiers
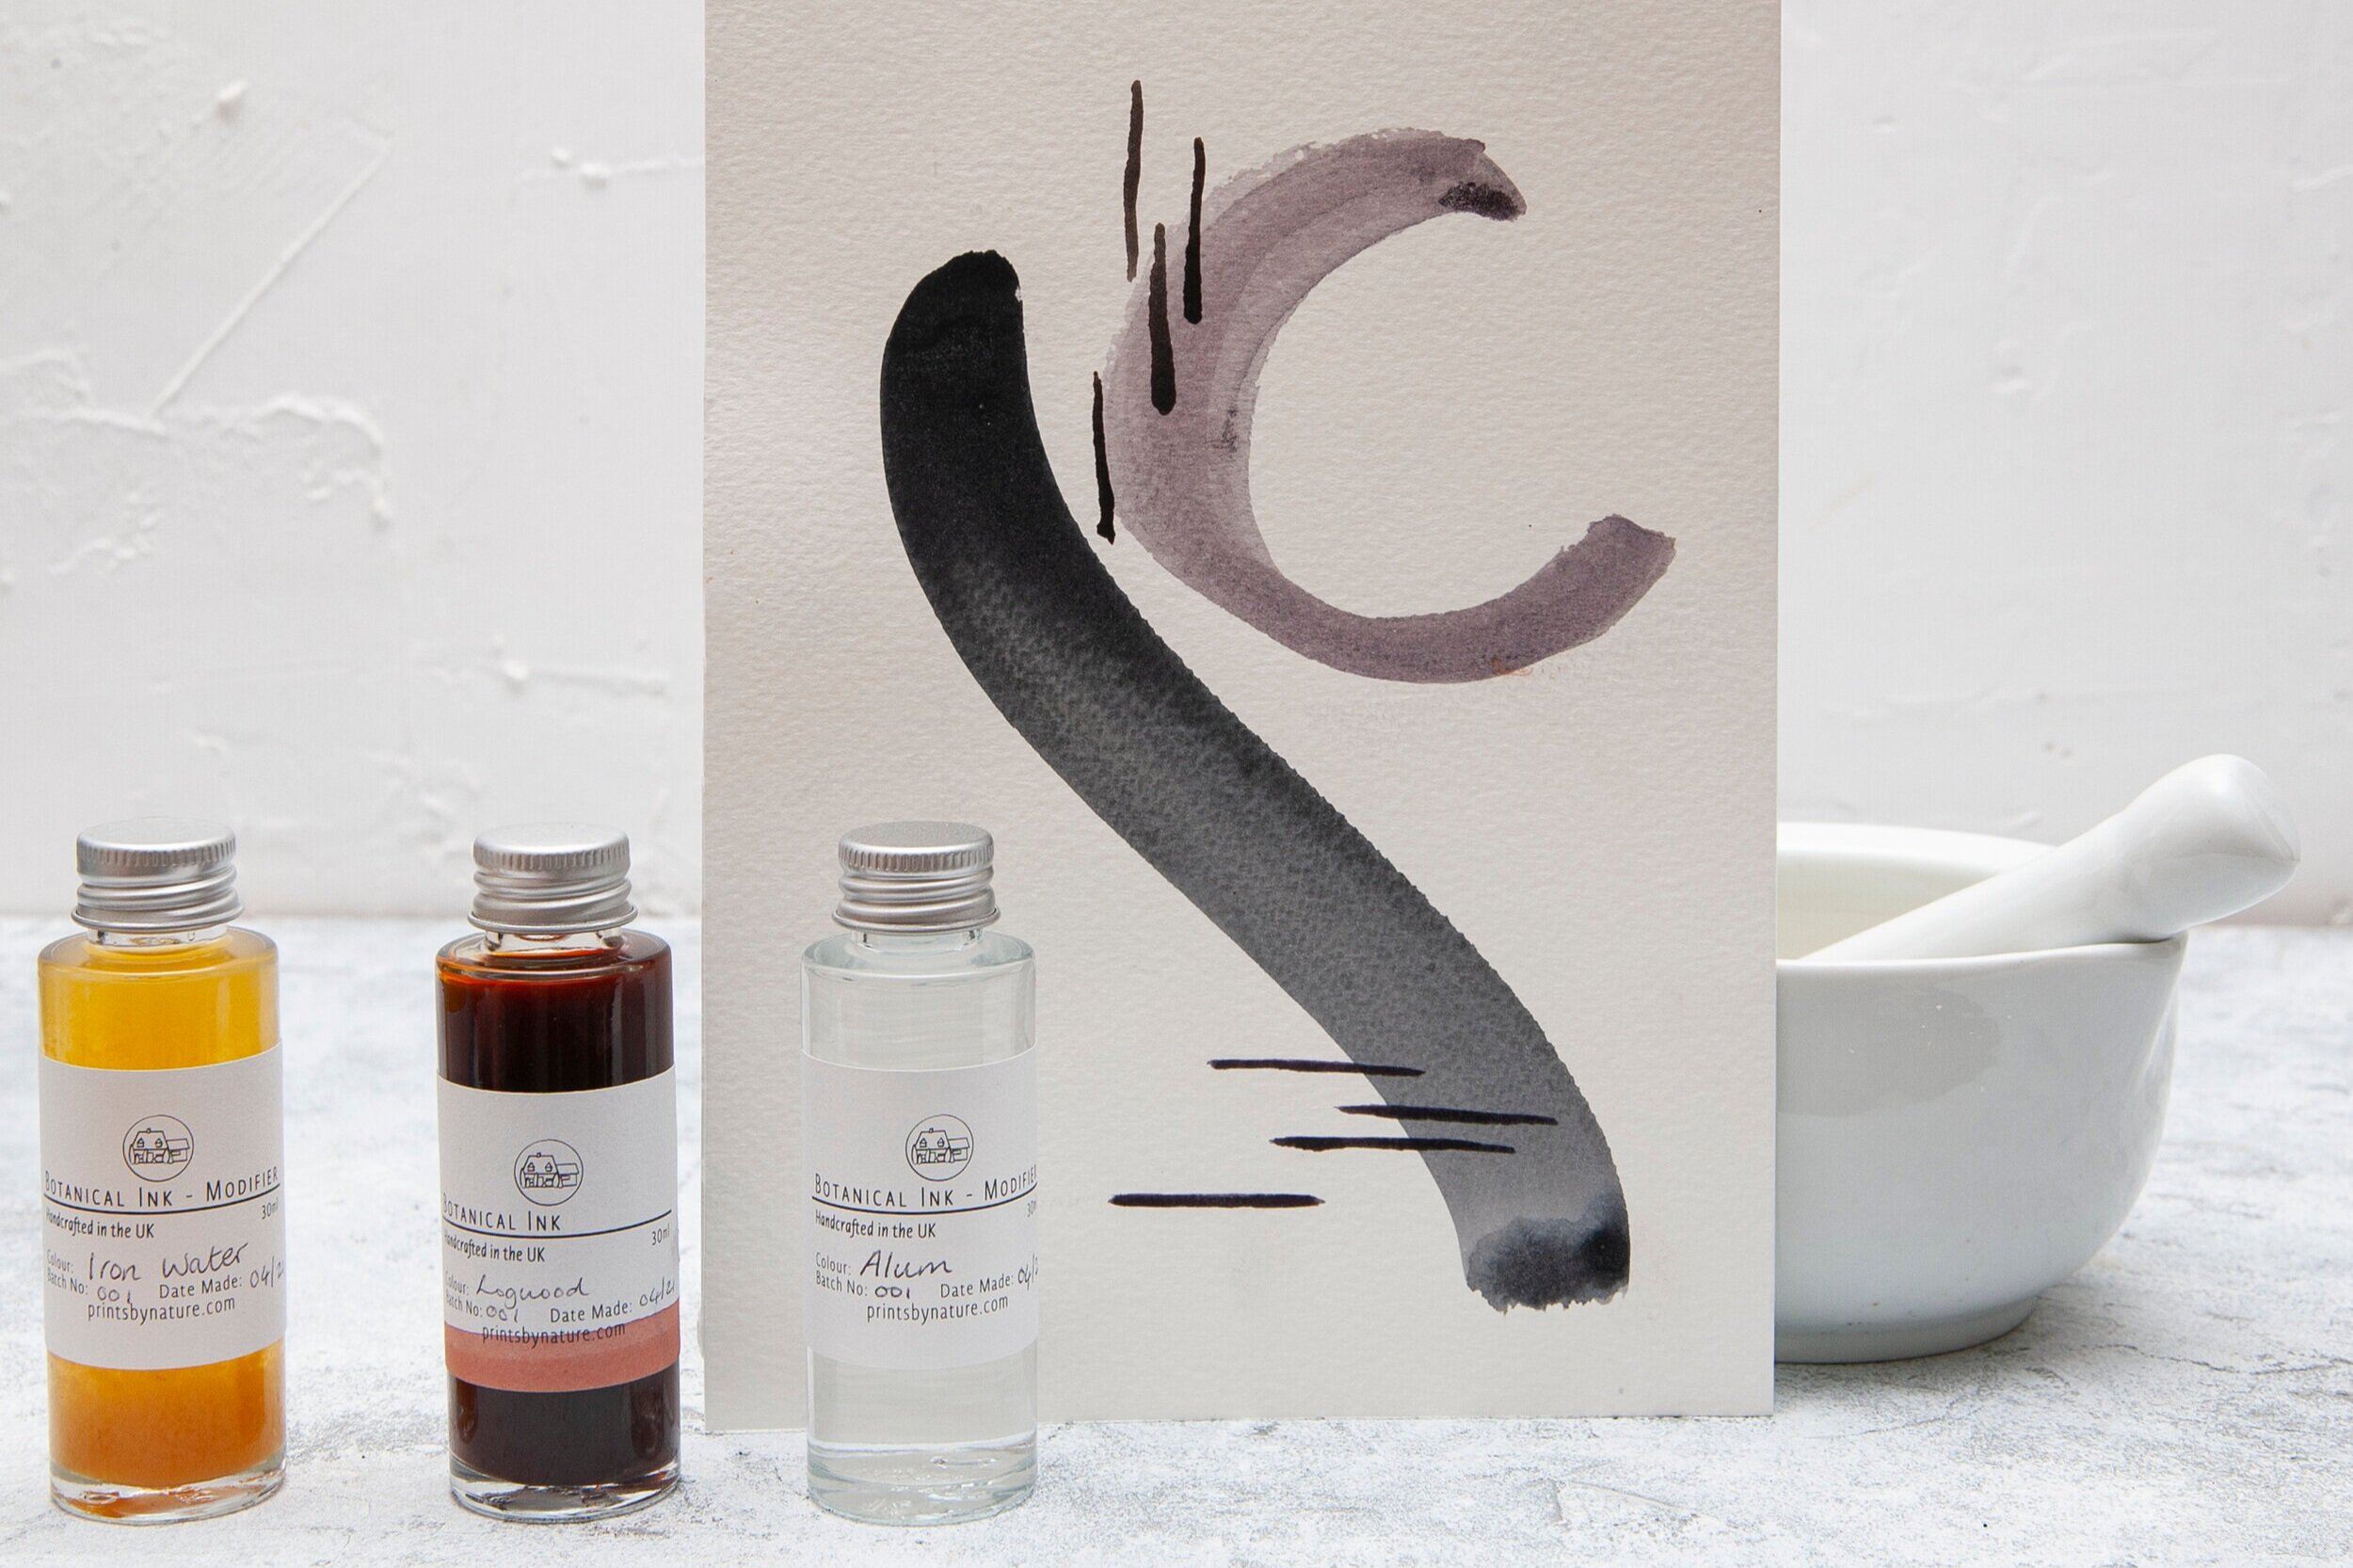
A modifier is any chemical or liquid that will alter the colour or tone of the ink. Some inks will already have a modifier added to them (for example our Black Walnut Ink and Iron - as this creates a permanent black) and sadly wont see much of a shift in colour once this has already happened.
Place a few drops of ink into a mixing palette and check that it is the consistency you desire. Using a modifier and separate dropper add a few drops of modifier at a time. We recommend starting on a 3:1 ration of ink to modifier as these are highly concentrated.
Try experimenting with various thinks found in your own home. try using vinegar or lemon juice to alter the ph level (great for logwood) or store a few rusting nails or pieces of copper in a vinegar solution. leave for a few weeks and use this solution to sadden/ darken your colours.
remember to wash your brushes and nibs fully as remnant modifiers will alter the inks you use next.
Quick Guide to what each modifier will do:
Alum: Typically brighten and shifts colours to acidic ph (great for logwood or inks made from floral ingredients)
Soda Ash - Gently lightens colours and shifts colour (alkaline)
Iron - Darken (saddens) colours creating lightfastness and dark greys to almost blacks with most inks. A little goes a long way.
Care instructions
Wash brushes and nibs thoroughly before next use, as remnant modifiers or inks will damage nibs or ferrules.
To avoid rust allow nibs and brushes to dry fully before storing. although a little rust will not affect the nib it will certainly react with the inks using - altering the desired colour.
Although this are natural inks we do not recommend consuming them. avoid contact with eyes, mouth and broken skin. Rinse immediately.
Store bottles upright, at room temperature and away from direct sunlight.
Each bottle has a few drops of clove oil to help preserve the ink and prevent mould. If mould is present it is usually due to contamination or improper storage. Use the handle of a sanitised tea spoon to pull out the mould and add a few extra drops of essential oil (clove, tea tree or eucalyptus work best).


